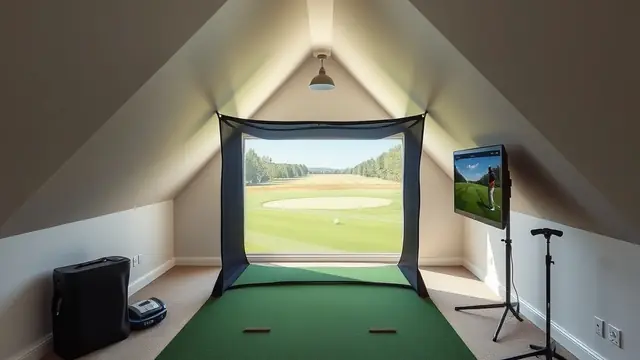
Golf Simulator Frame Build: Materials and Steps
Frame a home golf simulator with lumber sizes, load math, and enclosure attachment details for a safe, square bay and tools.
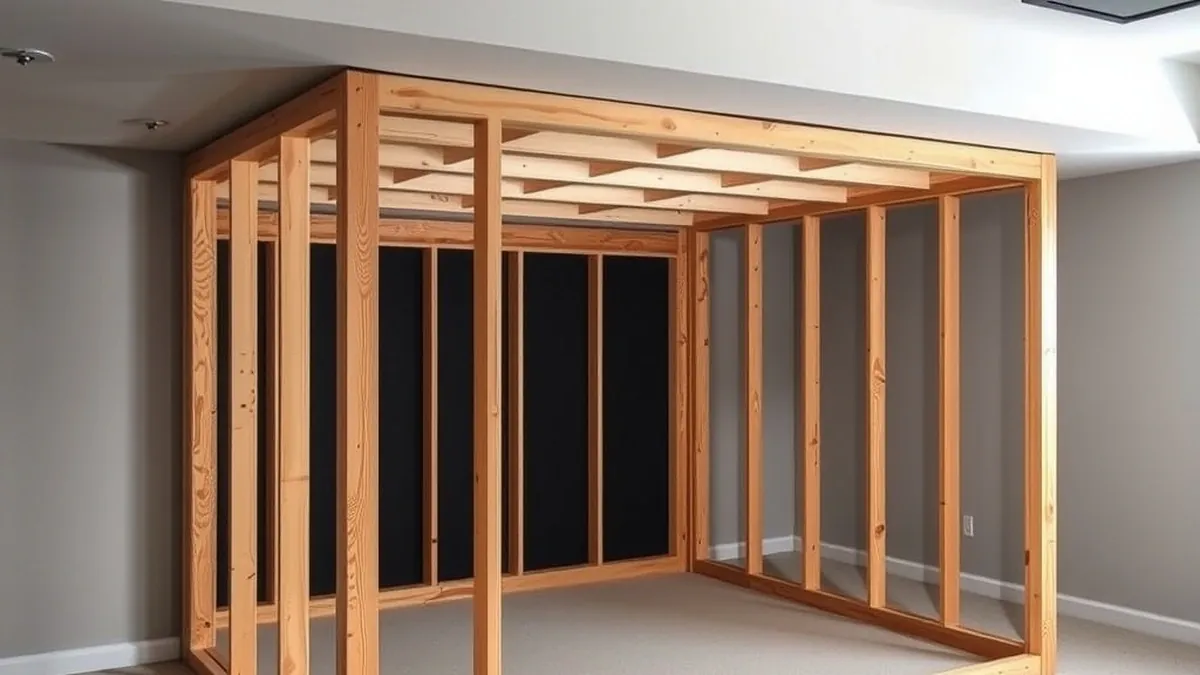
Build a golf simulator frame from pressure-treated 2x4 lumber, span no more than 16 inches between studs, and anchor it to wall studs or floor joists before hanging the impact screen and netting.
- Primary framing material
- Pressure-treated 2x4 lumber
- Typical stud spacing
- 16 inches on center
- Estimated material cost
- $250–$600 USD
- Anchor points
- Wall studs and floor joists
Some links on this page are affiliate links.If you buy through them we may earn a commission at no extra cost to you. We do not accept payment for rankings. Read the full disclosure.
A golf simulator frame build starts with the room, not the hardware. Measure your available width, depth, and ceiling height before buying lumber or an impact screen. The frame supports the screen, netting, and any side barriers, so it must be plumb, level, and securely anchored.
Plan the Frame Around Room Dimensions
Measure the length, width, and height of your simulator room. Record where wall studs, floor joists, and ceiling joists are located because these are your anchor points. A typical bay is 10 to 12 feet wide, 12 to 18 feet deep, and at least 9 to 10 feet high. If your ceiling is lower, you may need to restrict club selection or shorten the frame height.
Sketch the frame on paper before cutting anything. Mark the top plate, bottom plate, and vertical stud locations. Leave room for the impact screen to hang with a slight curve so balls drop straight down rather than bouncing back toward the hitting area.
Choose Lumber and Fasteners
Pressure-treated 2x4 lumber is the standard material for a DIY simulator frame. It resists moisture in basements and garages and holds structural screws well. You will need:
- Top and bottom plates running the full width of the bay
- Vertical studs spaced 16 inches on center
- Horizontal blocking where the screen and netting attach
- 3-inch structural screws or 16d nails for framing connections
- Concrete anchors or lag screws if fastening to masonry or joists
Estimate material cost for a 12-foot-wide by 10-foot-high frame:
- 2x4 studs: 12 pieces at roughly $6 each = $72
- Top and bottom plates: 6 pieces at roughly $6 each = $36
- Blocking and scraps: estimated $40
- Screws and anchors: estimated $30
- Total estimated materials: $178
Prices vary by region and retailer. Treat this as an estimate, not a quote.
Calculate Load and Anchor Points
A golf ball struck with a driver can carry significant force into the screen. The frame must transfer that load to the building structure without racking. Anchor the top plate to ceiling joists or wall framing, and anchor the bottom plate to floor joists or a concrete slab.
If you attach the frame to a wall, confirm the wall is not load-bearing before cutting or drilling. If you are unsure, consult a contractor. For a freestanding frame, add diagonal bracing on the back side to prevent sway.
Use this simple load distribution rule: place an anchor at least every 4 feet along the top and bottom plates. On a 12-foot frame, that means at least three anchor points per plate. Use washers with lag screws to spread the load across the wood.
Assemble the Frame on the Floor
Build the frame flat on the floor whenever possible. Lay out the top and bottom plates, mark stud locations every 16 inches, and nail or screw the studs between them. Check for square by measuring corner to corner; the diagonal measurements should match within 1/8 inch.
Add horizontal blocking at screen height and netting height. Blocking gives you a solid nailing surface for grommets, bungee cords, or screen fasteners. If you plan to mount a launch monitor or projector to the frame, add extra blocking at those points as well.
Raise the frame into position with a helper. Shim the bottom plate if the floor is not level, then plumb the frame with a level before anchoring. Do not skip the plumb check; an out-of-plumb frame causes screen wrinkles and uneven ball return.
Attach the Impact Screen and Netting
Hang the impact screen from the top plate or from a separate rail attached to the frame. Leave 12 to 18 inches of space behind the screen so the ball energy dissipates and the screen does not touch the wall. Attach side netting to the vertical studs to contain errant shots.
If your enclosure includes a roof net, frame additional overhead blocking and hang netting from it. Measure the drop from ceiling to screen so the net does not interfere with your swing path.
Integrate With the Rest of the Simulator
The frame is only one part of the room. Plan space for the hitting mat, launch monitor, and seating. If you are mounting a projector, check throw distance against your screen size and frame depth. For more on overall room planning, see our guide to golf simulator basement setup and ceiling height requirements.
You can pair a DIY frame with a retail enclosure or build the full surround yourself. For enclosure options and screen materials, review our golf simulator enclosure overview. If you are still selecting a launch monitor to pair with the finished build, our best launch monitor roundup covers current models.
Budget and Timeline Estimate
A straightforward frame build takes one weekend for two people with basic tools. Estimated costs:
- Lumber: $150–$250
- Fasteners and anchors: $30–$60
- Screen and netting hardware: $50–$150
- Total estimated frame and hardware: $230–$460
This excludes the impact screen, hitting mat, launch monitor, and computer. Treat all figures as estimates based on typical retail pricing; actual costs depend on your local lumber market and screen choice.
Common Mistakes to Avoid
Do not space studs wider than 16 inches if you plan to hang a heavy impact screen. Do not anchor only into drywall; fasteners must reach studs, joists, or concrete. Do not build the frame tight against a finished wall without leaving room for screen movement and ventilation. Finally, do not forget to measure ceiling height with your driver in hand before finalizing frame height.
A solid frame makes the rest of the simulator easier to install and safer to use. Measure the room first, buy lumber second, and anchor everything to the structure.
Frequently asked questions
What wood should I use for a golf simulator frame?
Use pressure-treated 2x4 lumber for the main frame because it resists moisture and holds screws better than soft pine in a basement or garage environment.
How far apart should frame studs be?
Space vertical studs 16 inches on center for most screen and netting loads, though 24 inches may work for lighter impact screens with minimal ball velocity.
Do I need to anchor the frame to the floor?
Yes, anchor the bottom plate to floor joists or concrete with appropriate fasteners so the frame cannot tip or shift when a ball strikes the screen.
Can I build a frame in a basement with low ceilings?
Yes, but verify ceiling height first; you generally need at least 9 to 10 feet for a full swing, depending on your height and club selection.
How much does a DIY golf simulator frame cost?
Expect roughly $250 to $600 for lumber, screws, and anchors, not including the impact screen, netting, or launch monitor.
Should I hire a contractor for the frame build?
Most homeowners can build the frame themselves with basic carpentry tools, but consult a professional if you are unsure about load-bearing walls or ceiling joists.
Sources
Some links are affiliate links.If you buy through them we may earn a commission at no extra cost to you. We do not accept payment for rankings. Read the full disclosure.