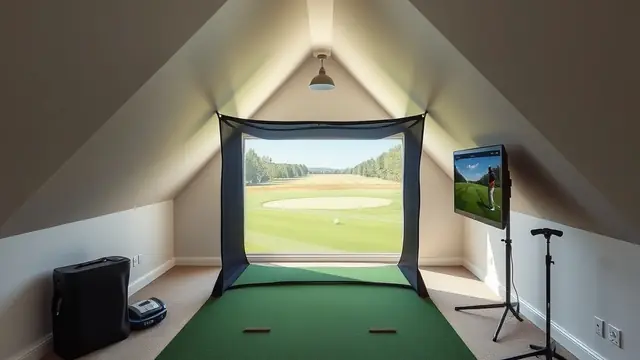
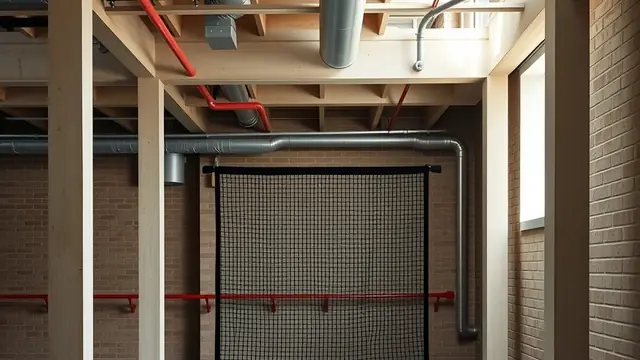
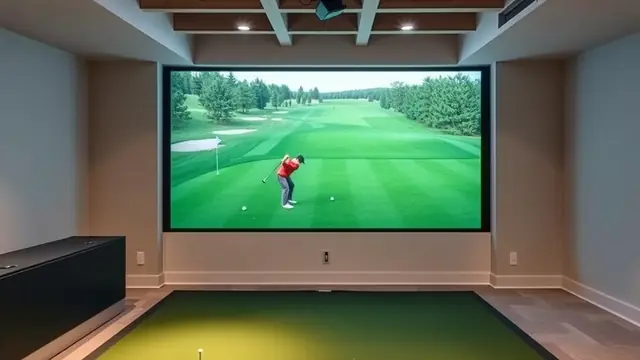
Golf Simulator Room Ventilation Guide
How to size and install ventilation for a home golf simulator room, including airflow calculations, fan options, and noise control.
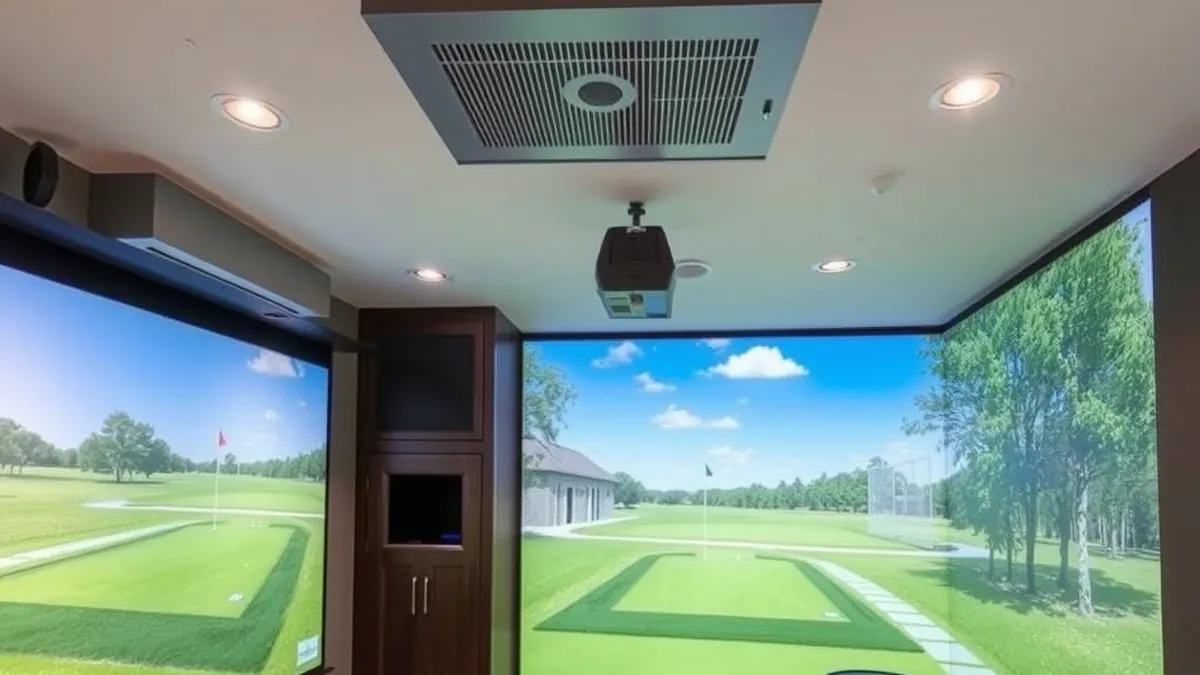
Size your golf simulator room ventilation at 6–10 air changes per hour using a bathroom exhaust fan plus a fresh-air inlet, then seal the enclosure and route ducting away from the hitting bay.
- Target air changes per hour
- 6–10 ACH
- Typical exhaust fan size
- 100–200 CFM
- Fresh-air inlet
- Passive vent or ducted makeup air
- Estimated parts cost
- $150–$450 USD
Some links on this page are affiliate links.If you buy through them we may earn a commission at no extra cost to you. We do not accept payment for rankings. Read the full disclosure.
Golf simulator room ventilation is the process of moving heat, humidity, and stale air out of an enclosed hitting space while bringing fresh air in. Most simulator rooms are small, tightly sealed, and packed with electronics that generate heat. Without a planned airflow path, the room can become uncomfortable within minutes and may shorten the life of your launch monitor, projector, and computer.
Start with the room, not the hardware. Measure the length, width, and ceiling height in feet. Multiply those three numbers to get cubic feet. Then decide how many times per hour you want to replace that air. For a golf simulator, six to ten air changes per hour is a practical target. Multiply the room volume by the air changes per hour, then divide by sixty to get cubic feet per minute.
For example, a room that is 12 feet wide, 16 feet long, and 9 feet high holds 1,728 cubic feet. At eight air changes per hour, you need 13,824 cubic feet per hour, or about 230 cubic feet per minute. That number tells you what size exhaust fan to look for. A fan rated too low will not keep up; a fan rated too high can create drafts and noise.
Exhaust Fan Selection
Choose an inline centrifugal fan or a bathroom-style exhaust fan rated for continuous use. Look at the CFM rating at static pressure, not just the free-air rating, because ducting and elbows reduce real-world airflow. A fan in the 100 to 200 CFM range works for many simulator rooms under 2,000 cubic feet. Larger rooms or rooms with multiple projectors and computers may need 250 CFM or more.
Noise matters in a hitting bay. Fan loudness is measured in sones. A fan under 2.0 sones is quiet enough to run while you hit. Anything above 4.0 sones will likely be distracting. Mount the fan outside the hitting zone if possible, or use insulated flexible ducting to move the motor away from the hitting area.
Fresh Air and Makeup Air
Exhausting air without replacing it creates negative pressure. The fan will work harder, move less air, and may pull air from crawl spaces, attics, or adjacent rooms. Install a passive fresh-air inlet on the opposite side of the room from the exhaust. A simple wall vent with a backdraft damper works in many basements and garages. If the room is fully sealed, consider a ducted makeup-air inlet with its own small fan to balance pressure.
Position the exhaust high, since warm air rises. Position the fresh-air inlet low or at floor level so cooler replacement air enters across the room before it leaves. Avoid placing the inlet directly behind the hitting mat, where airflow could disturb the ball or the golfer’s stance.
Heat Load Estimate
Electronics and people add heat to the room. A typical gaming computer or simulator PC might draw 300 to 500 watts. A projector can add 200 to 400 watts. A launch monitor uses far less, often under 50 watts, but it still contributes. Two people can add roughly 400 to 600 watts combined. That is an estimate, not a measured test result, but it shows why a small room heats up quickly.
Convert watts to BTU per hour by multiplying by 3.412. A 1,000-watt combined load produces about 3,412 BTU per hour. Ventilation removes some of that heat, but it does not replace air conditioning. If the room is in an unconditioned garage or attic, ventilation alone may not keep temperatures comfortable in summer.
Ducting and Installation
Use smooth-walled metal ducting when possible. Flexible ducting is easier to install but creates more resistance, especially with bends. Each 90-degree elbow can reduce effective airflow by an estimated 20 to 40 percent. Keep duct runs short and straight. Seal joints with foil tape, not standard cloth duct tape, which fails over time.
If you mount the fan through a ceiling joist or wall stud, frame the opening properly and use a vibration-isolating mount or rubber gasket to prevent structure-borne noise. Terminate the exhaust with a wall cap or roof cap that includes a backdraft damper to stop outside air from entering when the fan is off.
Cost Estimate
Parts for a basic ventilation system typically fall between $150 and $450 USD. A quality exhaust fan costs $60 to $180. Ducting, clamps, and wall caps add $40 to $100. A fresh-air inlet or damper runs $20 to $60. Electrical work, if you need a new circuit or switch, can add $100 to $300 depending on local labor rates. These are estimates based on common retail pricing, not quotes from a specific installer.
If you hire an electrician to wire a fan switch and a separate switch for the lights, budget for two to three hours of labor. Running a dedicated circuit from the main panel costs more but avoids nuisance tripping if the fan shares a line with a projector and computer.
Noise Control
Ventilation noise can interfere with launch monitor audio and with conversation in the room. Choose a low-sone fan, mount it with rubber isolation, and line the duct with acoustic insulation where code allows. Do not stuff ordinary fiberglass insulation inside flexible duct; it can shed fibers into the airstream. Use duct liner designed for HVAC applications.
If the room shares a wall with a bedroom or living area, avoid placing the exhaust fan directly against that wall. Locate it on an exterior wall or ceiling where the duct terminates outside, away from living spaces.
Integration With Your Simulator Build
Ventilation should be planned alongside enclosure, lighting, and ceiling height. A tall enclosure with a side net can trap heat near the ceiling, which is exactly where the exhaust fan should pull from. If you are building a basement simulator, check whether the basement already has HVAC supply and return registers. You may only need to move air from the hitting bay to the main basement space rather than exhausting outdoors.
For ceiling-mounted projectors, heat rises toward the lens. Exhausting near the ceiling helps protect the projector, but do not aim the airflow directly at the screen or hitting mat. Turbulence near the hitting area can affect ball flight and camera-based launch monitors.
If you are still choosing equipment, the launch monitor buying guide at /best-launch-monitor/ covers sensor types that may be more or less sensitive to room conditions. For full builds, /best-golf-simulator/ compares packages across price tiers, and /best-golf-simulator-under-10000/ focuses on budget-constrained rooms where ventilation planning matters even more because smaller spaces heat up faster.
Ventilation is not optional in a sealed simulator room. Size the fan by room volume and target air changes, provide makeup air, keep duct runs short, and control noise at the source. The result is a room that stays cool enough to practice in for an hour or more without overheating your gear.
Next, compare best golf simulator under 10000, best golf simulator, best launch monitor. before you commit.
Frequently asked questions
Why does a simulator room need ventilation?
Launch monitors, projectors, computers, and people generate heat in a small enclosed space. Without airflow, temperature and humidity rise quickly during a session.
How many air changes per hour should I target?
Target 6 to 10 air changes per hour for a typical golf simulator room. This provides enough cooling without creating drafts that affect ball flight or camera tracking.
Can I use a window fan for simulator ventilation?
A window fan can work for mild cooling, but it is hard to control and may let in noise, insects, or rain. A dedicated exhaust fan with a fresh-air inlet is more reliable.
Will ventilation noise interfere with my launch monitor?
It can. Place the exhaust fan outside the hitting bay, use insulated ducting, and choose a fan rated below 2.0 sones to keep background noise low.
Do I need makeup air if I run an exhaust fan?
Yes. Exhausting air without a replacement source creates negative pressure, reduces fan effectiveness, and can pull air from adjacent rooms or the attic.
Should ventilation run while I am hitting?
Run it before, during, and after sessions. Pre-cooling the room removes heat buildup, and post-session airflow helps the enclosure and screen dry out.
Sources
Some links are affiliate links.If you buy through them we may earn a commission at no extra cost to you. We do not accept payment for rankings. Read the full disclosure.