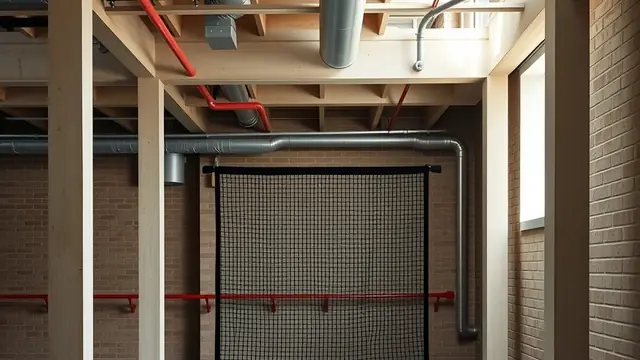
Golf Simulator Electrical Setup Guide
Plan a dedicated circuit for a home golf simulator: outlet placement, load math, panel capacity, and inspection basics before drywall.
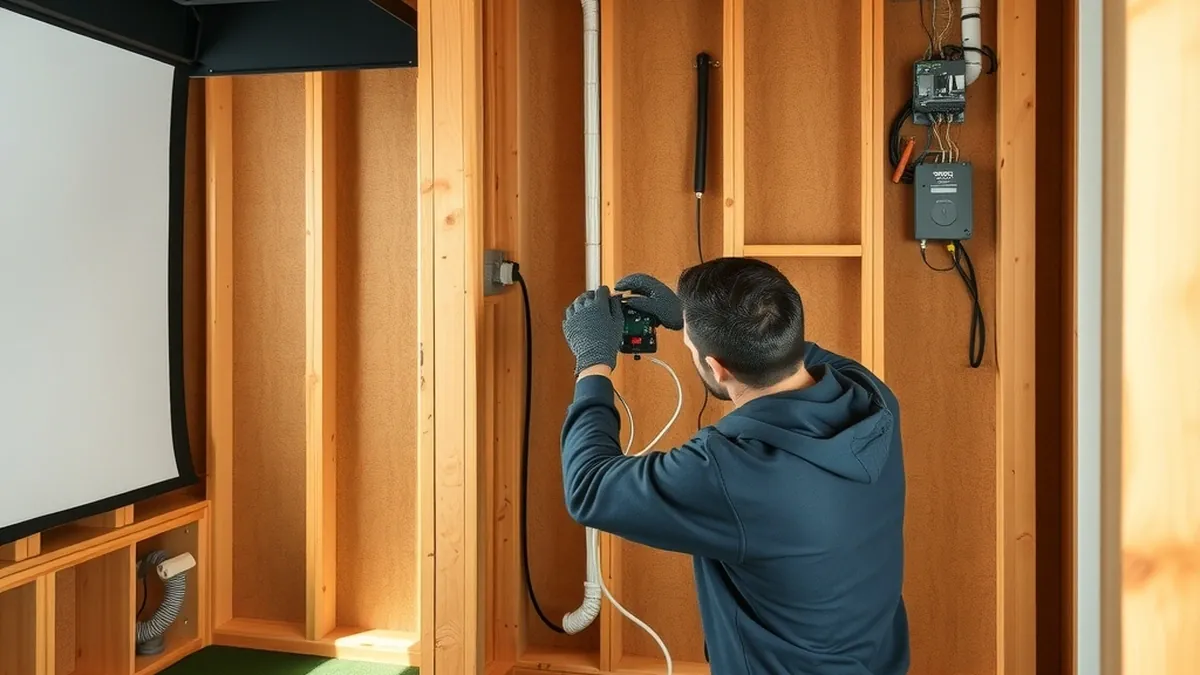
Plan one dedicated 20-amp, 120-volt circuit for the simulator PC, launch monitor, and projector. Install outlets near the hitting bay and equipment rack, and run Ethernet or reliable Wi-Fi for online play.
- Circuit
- Dedicated 20-amp, 120V
- Outlets
- 2-4 near hitting bay and equipment rack
- Projector
- Ceiling mount, dedicated circuit if 4K laser
- PC and launch monitor
- Separate surge-protected outlets
- Lighting
- Dimmable, separate from simulator gear
Some links on this page are affiliate links.If you buy through them we may earn a commission at no extra cost to you. We do not accept payment for rankings. Read the full disclosure.
A home golf simulator needs clean, dedicated power. Plan one 20-amp, 120-volt circuit for the simulator PC, launch monitor, and projector so the gear does not compete with lamps, vacuums, or space heaters on the same breaker. Outlet placement and circuit capacity should be decided before framing or drywall goes up.
Why Electrical Planning Comes First
Room measurements come before hardware in any simulator build, but electrical layout is the next priority. You need to know where the hitting mat, screen, projector, and computer will sit before an electrician pulls wire. Moving an outlet after drywall is expensive, and running extension cords across a hitting bay is a trip hazard.
Most simulator components draw modest power individually, but together they can approach the limit of a standard household circuit. A gaming-class PC might draw 300 to 500 watts under load, a projector 150 to 300 watts, and a launch monitor 50 to 100 watts. Add lighting, a space heater, or a fan, and a shared 15-amp circuit can trip quickly.
Dedicated Circuit Requirements
Install a dedicated 20-amp, 120-volt circuit for the simulator equipment. This keeps the PC, launch monitor, and projector isolated from other room loads. Use 12-gauge wire on a 20-amp breaker, which is standard for dedicated home office or media circuits.
Here is a simple load estimate for a typical simulator setup:
- Simulator PC: 400 watts
- 4K projector: 250 watts
- Launch monitor: 75 watts
- Ceiling fan or room fan: 60 watts
- Total estimated load: 785 watts
At 120 volts, 785 watts draws about 6.5 amps. That leaves headroom on a 20-amp circuit, which can safely handle up to 16 amps of continuous load under the 80 percent rule. If you add a space heater drawing 1,500 watts on the same circuit, you will exceed the limit and trip the breaker.
A licensed electrician should confirm local code requirements and pull any necessary permits. Costs vary widely by region, but running a new dedicated circuit from the panel to the simulator room commonly ranges from $300 to $900 USD depending on distance, wall access, and labor rates. That is an estimate; get a written quote before work begins.
Outlet Placement
Place outlets where the equipment will actually live, not where it is convenient for the electrician.
Hitting bay area: Install at least two outlets behind the hitting area or along the side wall. One powers the launch monitor if it sits near the mat, and the other can run a fan, space heater, or phone charger.
Equipment rack: If you keep a PC, receiver, or charging station in a rack near the screen or in a closet, install two surge-protected outlets there.
Projector location: For a ceiling-mounted projector, run power to the ceiling junction box. A 4K laser projector may draw more than a standard lamp projector, so confirm the manufacturer’s power draw before sizing the circuit. If the projector is mounted far from the rack, you may also need HDMI or Ethernet conduit run at the same time.
Avoid putting outlets directly behind the impact screen where a stray ball could damage a cover plate. Mount them to the side or behind enclosure framing where they are protected.
Lighting and Dimmers
Simulator screens wash out in bright light, so plan for dimmable lighting on a separate circuit from the simulator gear. Dimmers let you lower ambient light during play and raise it for cleanup or multi-use room time. Do not put dimmer switches on the same circuit as the PC or projector, since dimmer noise can interfere with sensitive electronics.
Recessed cans or flush mounts work well in simulator rooms, but avoid placing lights directly above the hitting area if they create glare on the screen. If the room doubles as a gym or office, zoned lighting lets you use only the lights you need.
Network and Connectivity
Electrical planning should include data. A wired Ethernet drop to the simulator room is more reliable than Wi-Fi for online play, software updates, and cloud-connected launch monitors. Run Cat6 cable alongside the power circuit if possible, or at least install a junction box where a wireless access point can sit.
If the room is in a detached garage or basement far from the router, consider a wired run or mesh node rather than counting on a weak signal. Launch monitors such as those reviewed in our Garmin R10 review rely on consistent connectivity for some features, though many units store data locally and sync later.
Working With an Electrician
Hire a licensed electrician for any new circuit, outlet, or ceiling power box. Tell them the room is a golf simulator so they understand the equipment layout. Provide a simple sketch showing the hitting mat, screen, projector mount, and equipment rack. Ask for:
- One dedicated 20-amp, 120-volt circuit
- 12-gauge wire and 20-amp breaker
- Outlets at hitting bay, equipment rack, and projector ceiling box
- Separate switched circuit for dimmable lighting
- Ethernet or low-voltage conduit if you want wired networking
Get an itemized quote. Electrical work is one part of the overall golf simulator cost, and it is easier to budget for it up front than to retrofit later.
Basement and Garage Considerations
Basements and garages are common simulator locations, but they present electrical challenges. Basements may have older panels with limited spare capacity. Garages often have GFCI-protected outlets that can trip with sensitive electronics. A dedicated circuit run from the main panel avoids both issues.
If you are building in a basement, also review ceiling height and framing before running conduit. Our golf simulator basement and golf simulator ceiling height guides cover the physical constraints that affect where outlets and projector mounts can go.
Enclosure and Mounting Integration
Electrical boxes should be positioned so they do not interfere with the enclosure frame or screen tensioning. If you are building a DIY enclosure, mark stud locations and outlet boxes before assembling the frame. For pre-built enclosures, check the manufacturer’s dimensions to confirm outlet placement will not be covered by padding or netting.
Ceiling-mounted projectors need power and possibly a network drop at the mount point. A recessed ceiling box with a blank cover keeps the connection clean and protects the cord from being struck by a ball. More details on enclosure planning are in our golf simulator enclosure guide.
Budgeting for Electrical Work
Electrical costs are separate from simulator hardware. A basic outlet addition might cost $150 to $300 USD, while a new dedicated circuit with panel work can run $300 to $900 USD or more. These are estimates based on typical residential electrical pricing; actual quotes depend on your home’s panel capacity, distance from the breaker box, and local labor rates.
If you are shopping for a complete simulator package, our best golf simulator under 10000 and best golf simulator guides can help you size the hardware, and our best launch monitor guide covers power and connectivity needs by model. Match the electrical plan to the gear you actually buy rather than overbuilding for equipment you may never purchase.
Final Checklist
Before closing walls, confirm the following:
- Dedicated 20-amp, 120-volt circuit for simulator equipment
- Outlets at hitting bay, equipment rack, and projector location
- Separate dimmable lighting circuit
- Ethernet or strong Wi-Fi path to the room
- GFCI compliance where required by local code
- Licensed electrician sign-off and permit if required
Good electrical planning keeps the simulator running reliably and prevents nuisance breaker trips mid-round. Treat it as part of the room build, not an afterthought.
Frequently asked questions
Do I need a dedicated circuit?
Yes. A dedicated 20-amp circuit prevents the simulator PC, launch monitor, and projector from tripping a breaker shared with household appliances.
How many outlets should I install?
Plan for at least two outlets in the hitting bay and two at the equipment rack or ceiling projector location, plus spare capacity for future gear.
Can I run a simulator on a standard 15-amp outlet?
You can, but it is not ideal. A 15-amp circuit shared with lights or other devices may trip under simultaneous load from a PC, projector, and launch monitor.
What voltage do golf simulators use?
Most consumer launch monitors, simulator PCs, and projectors run on standard 120-volt household power in the United States.
Should I hire an electrician?
Yes. Running new circuits, adding outlets, or mounting ceiling power for a projector should be done by a licensed electrician to meet local code.
Do I need Ethernet in the simulator room?
A wired Ethernet connection is more stable than Wi-Fi for online play and software updates, though a strong wireless signal can work if the router is nearby.
Sources
Some links are affiliate links.If you buy through them we may earn a commission at no extra cost to you. We do not accept payment for rankings. Read the full disclosure.